SQL Server 2017 installation: Step By Step
MSSQL SQL on Linux, SQL server 2017 installation step by step, SQL server 2019 installation step by step, SQL server InstallationTo install SQL server 2017 on new Windows machine, we would need below details.
1. Admin access to Windows machine
2. SQL Server Binary files
3. SQL Server Service account
Once all pre-requisites are fulfilled, we will proceed with SQL Server 2017 installation on Windows 2012 machine.
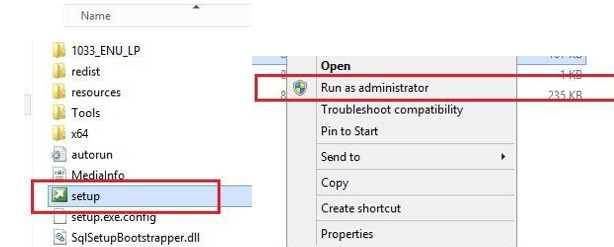
Run below Setup.exe file as an administrator

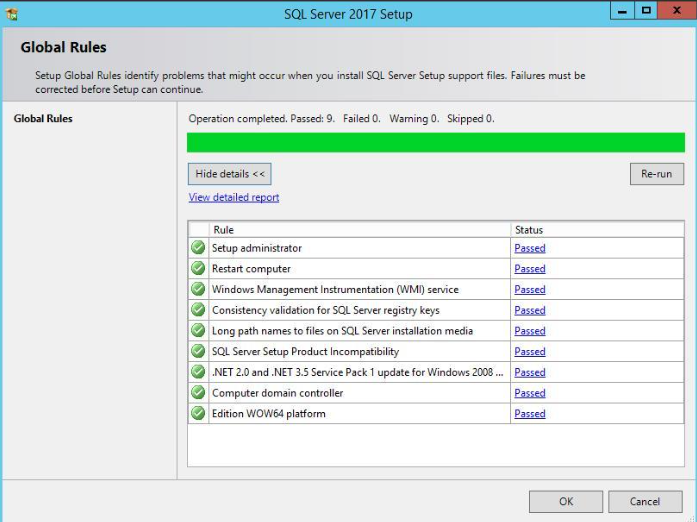

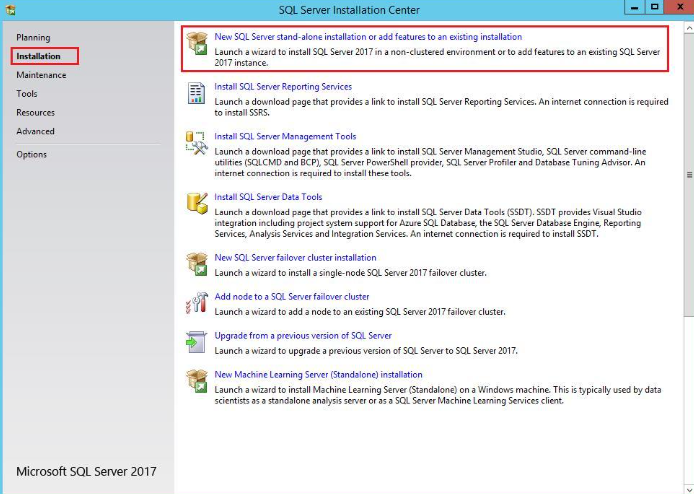
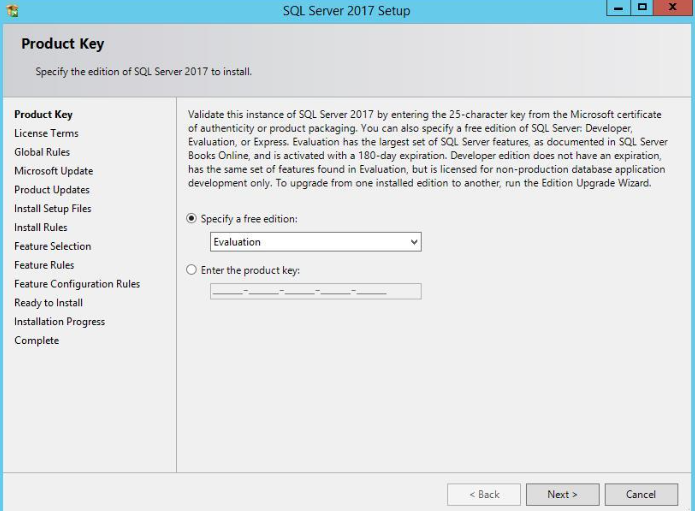
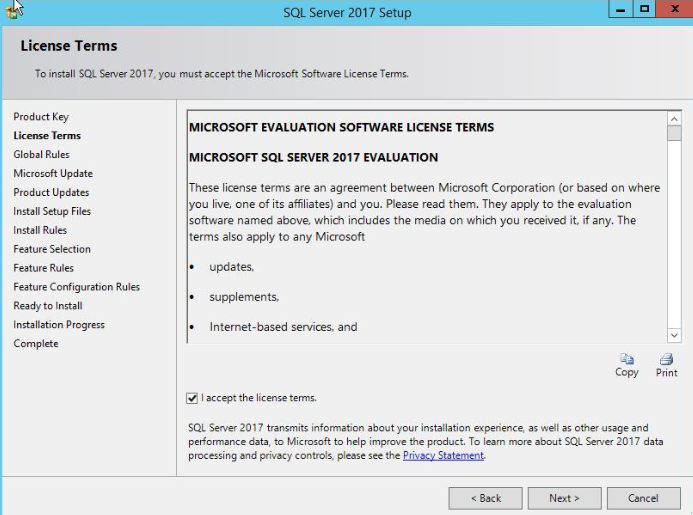
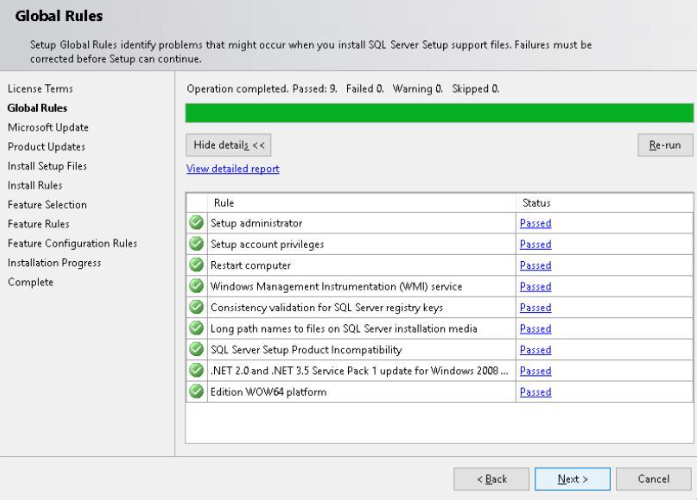
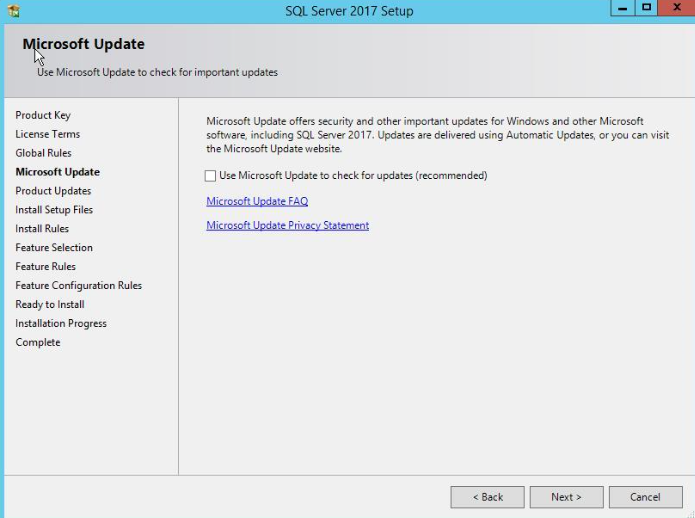
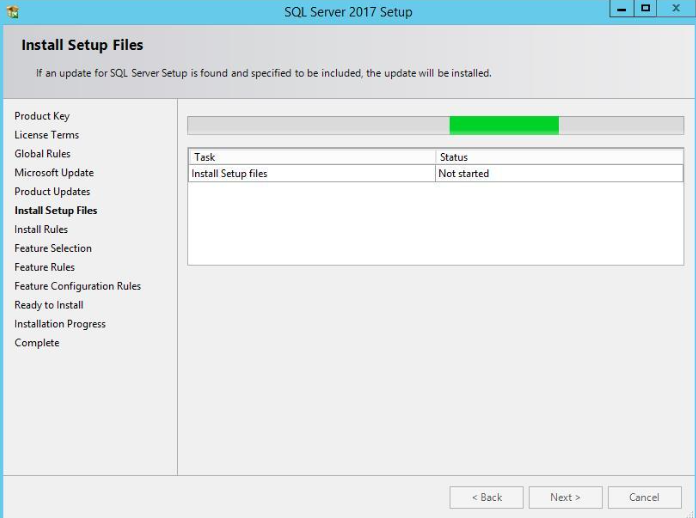
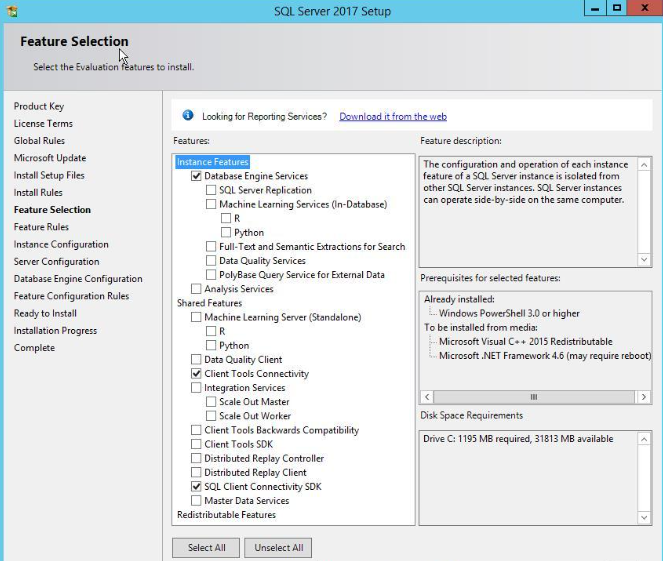
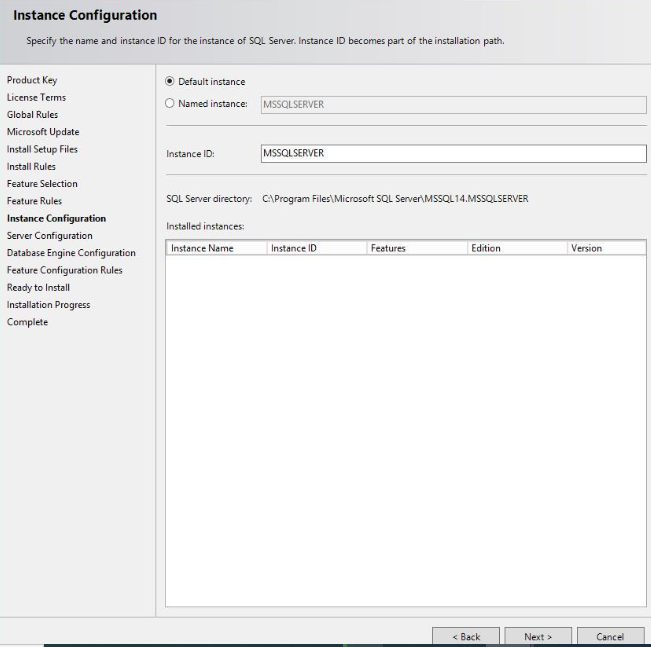
We will provide SQL Service account credentials against SQL Service Database engine as well as SQL server Agent services and will keep startup type Automatic for it to come up on its own whenever Windows Machine is restarted.

Next, we will change database collation setting as per requirement.
Note: Once collation setting is changed during SQL server installation, it can not be changed later, so change this option very carefully.

Select Authentication Mode as Mixed mode and supply SA credentials. Also, additionally add service account user credentials as well.
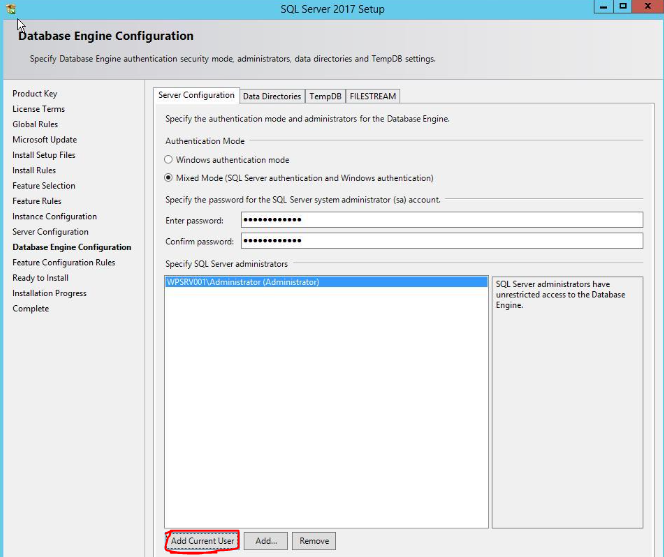
Also, make sure to provide correct file location details for system as well as user databases.
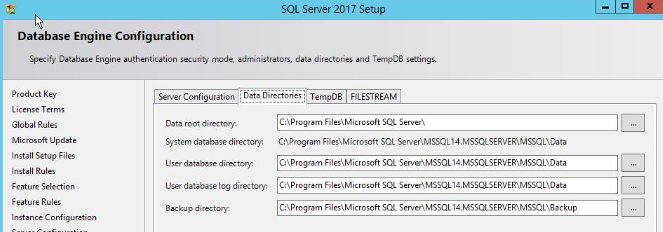
Please review all the selected SQL features and click Install.
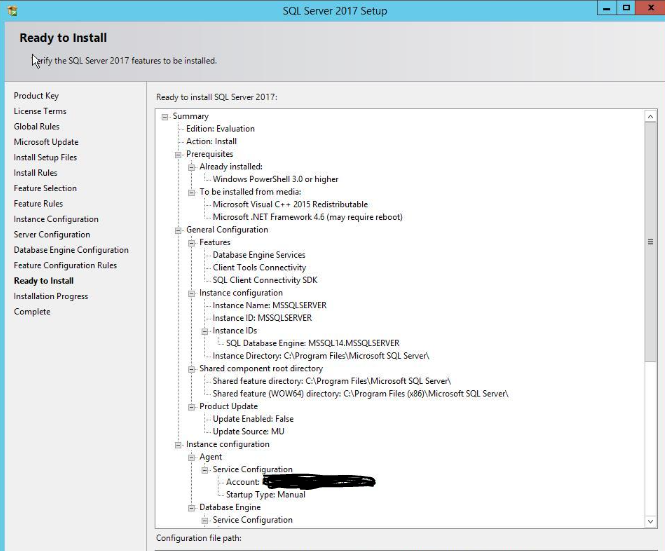
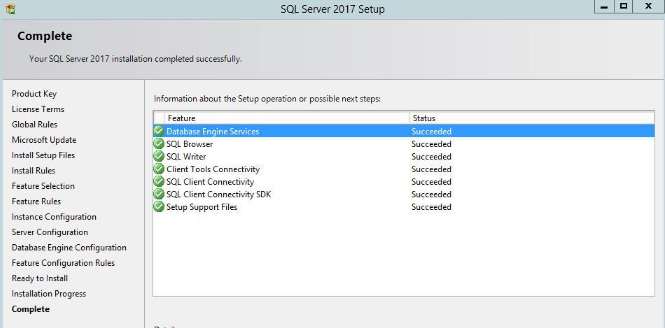
SQL Server 2017 Installation is successful now.
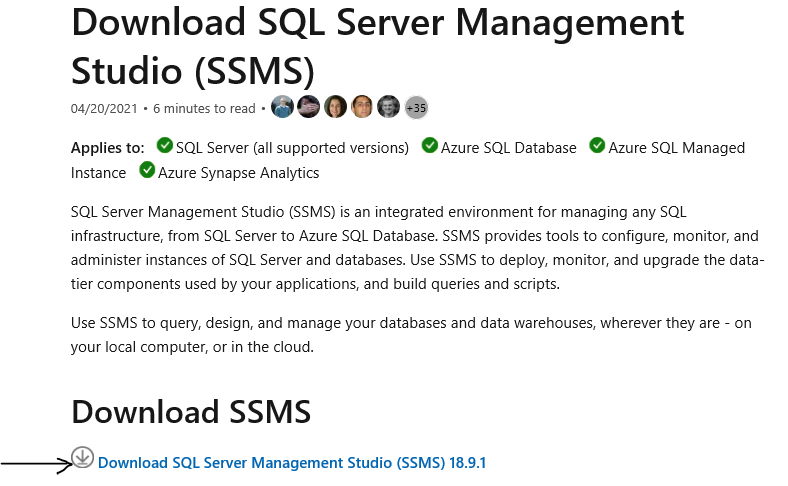
Note: SQL Server 2016 onwards SSMS client is not installed by default during installation. We need to download the SSMS installer files (via Microsoft official site, as shown below) to our Windows machine and then install it.
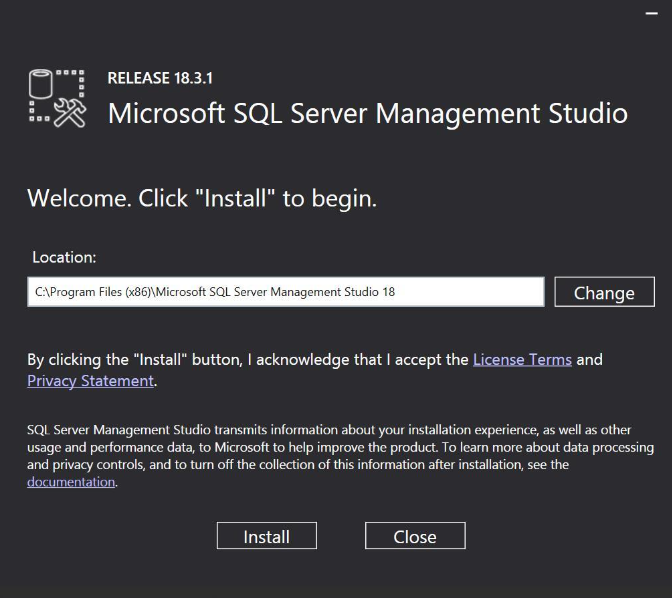
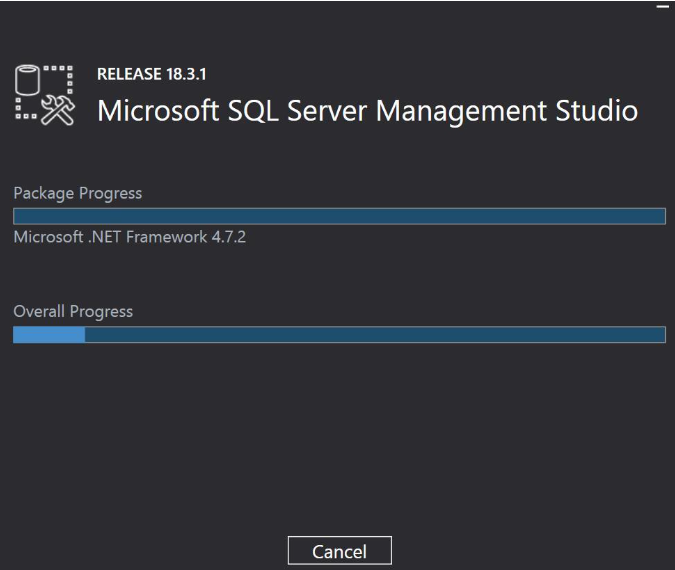
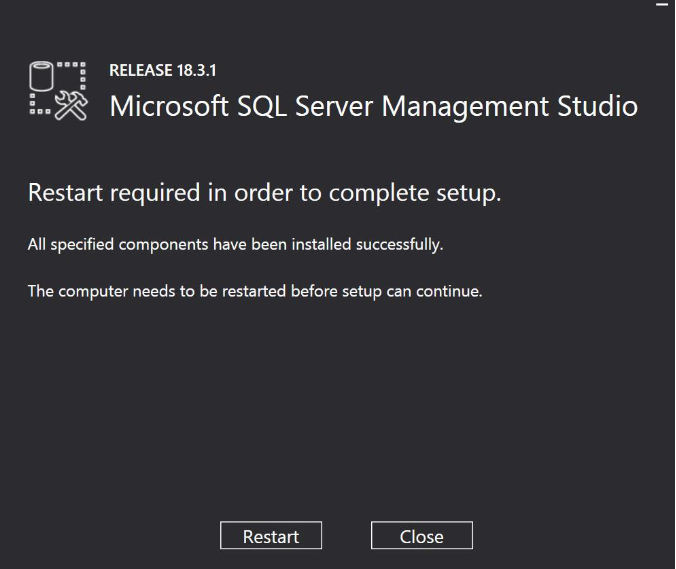
Once SQL Server Management Studio(SSMS) is installed restart the Windows machine and then try to connect to Database via SSMS and see if all is looking good.
How useful was this post?
Click on a star to rate it!
Average rating 0 / 5. Vote count: 0
No votes so far! Be the first to rate this post.